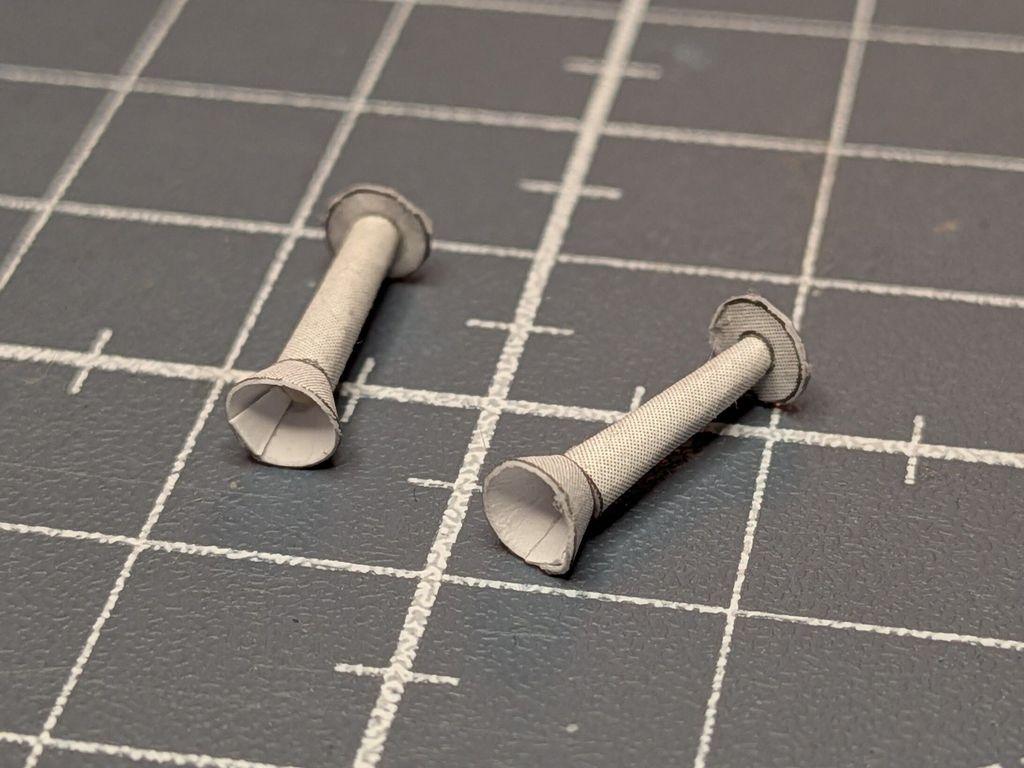
Built turn signals for the cab. Despite being ~2mm in size and round, they are made of paper. They are made by shaping the end of a paper tube that is later cut away from the round end. #papercraft #Tatra815 #AV15 #scalemodel #histscalemodels
#AV15

Built a loudspeaker that will be mounted on the top of the cab. #papercraft #Tatra815 #AV15 #scalemodel #histscalemodels


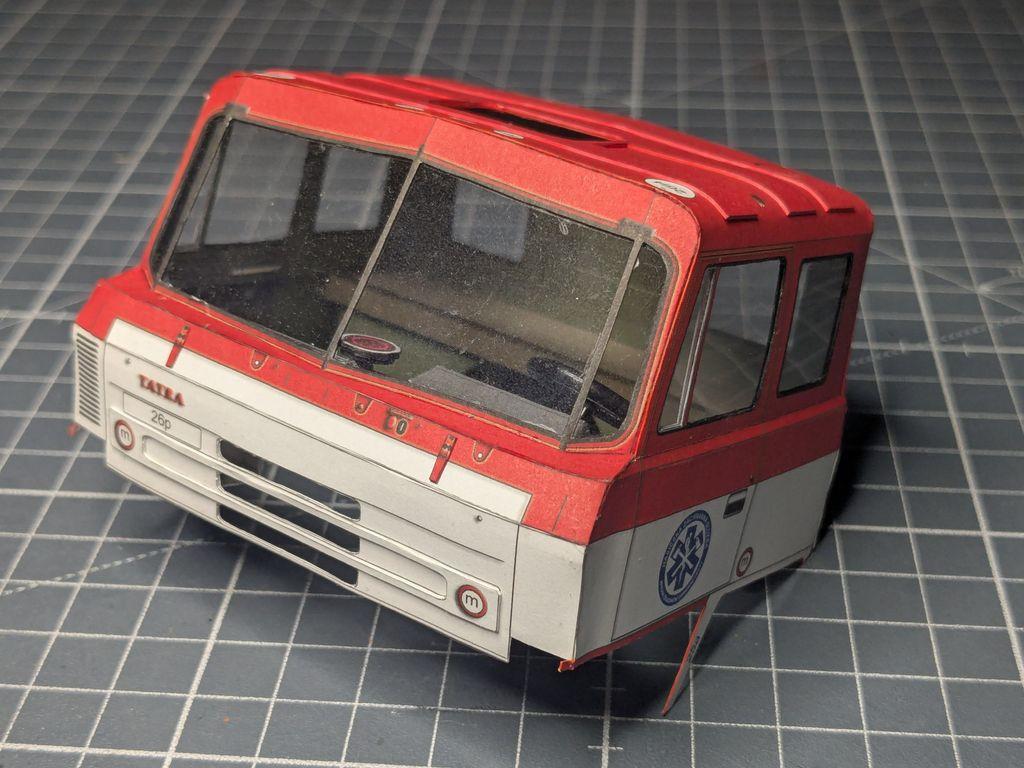
I started working on additional details for the cab exterior. Here are the sirens and blue & orange lights that will be mounted on the top of the cab. #papercraft #Tatra815 #AV15 #scalemodel #histscalemodels


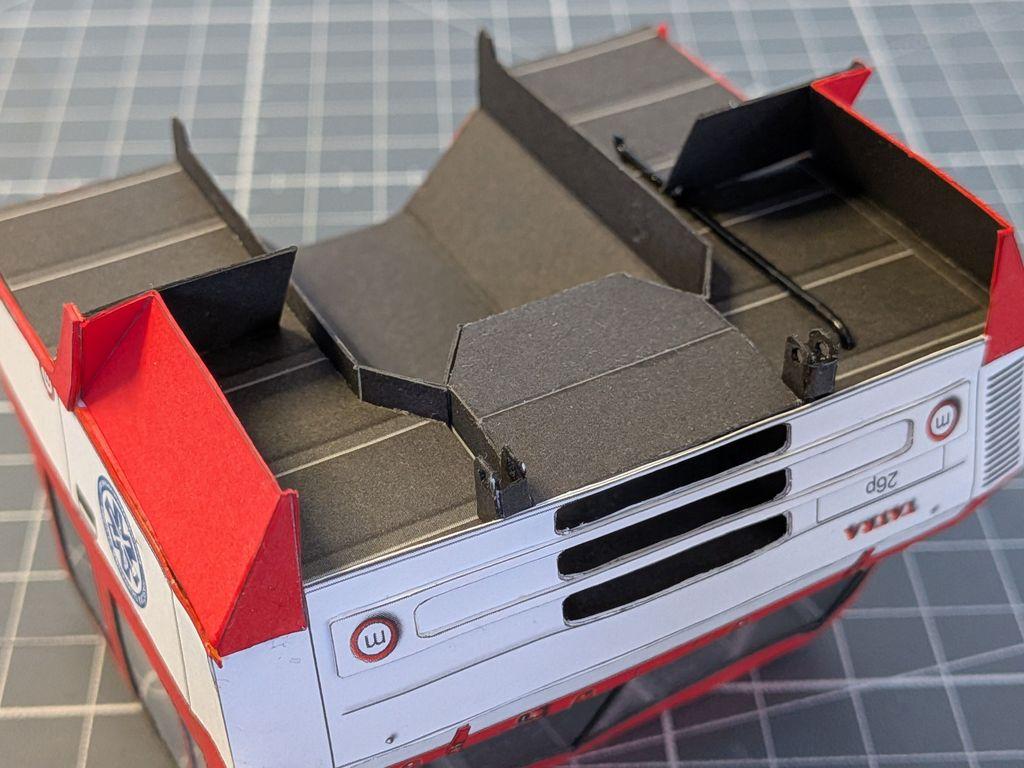
Completed the air intake heads and added them to the cab. #papercraft #Tatra815 #AV15 #scalemodel #histscalemodels


Next up are small details on the cab. I'm starting with the air intake heads. #papercraft #Tatra815 #AV15 #scalemodel #histscalemodels


Finally attached the cab to the chassis. The joints move freely and the cab can be lifted to open access to the engine. #papercraft #Tatra815 #AV15 #scalemodel #histscalemodels


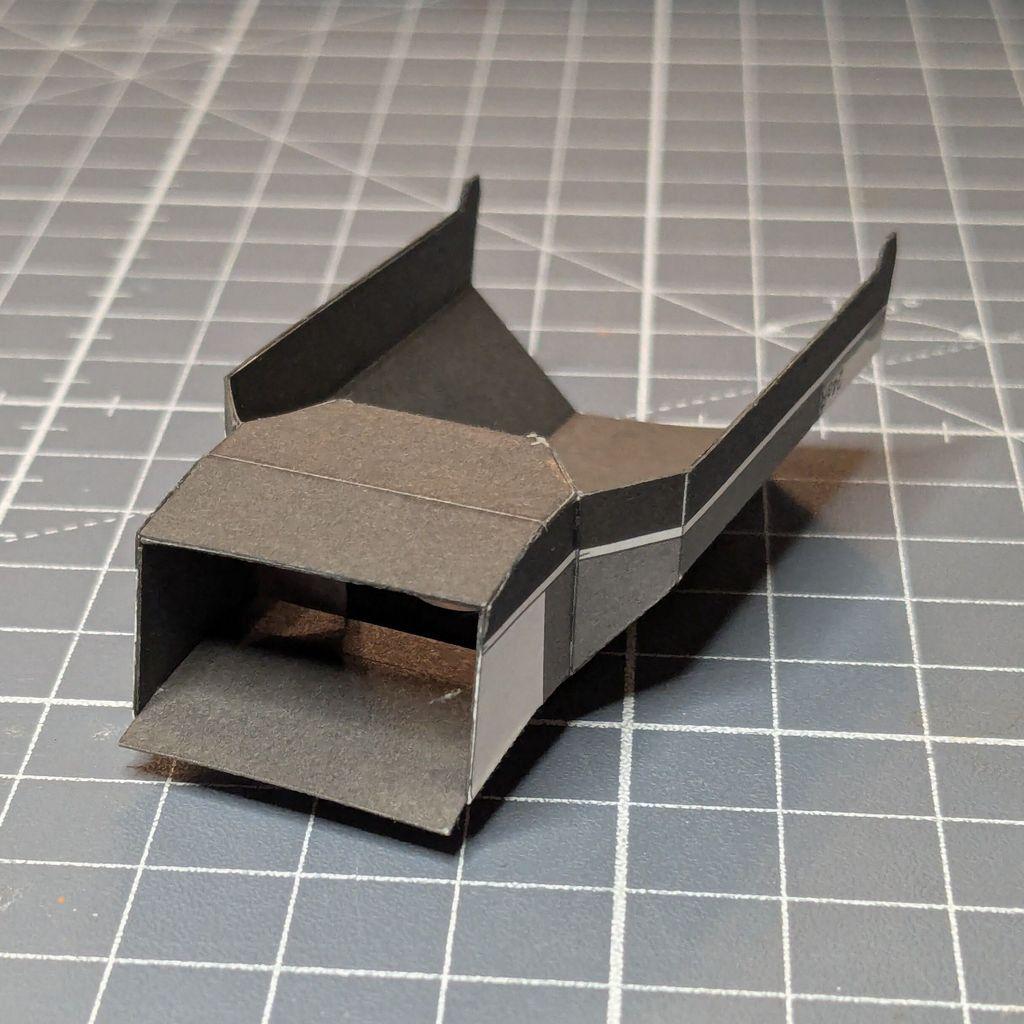
Added left and right covers for the chassis and the bottom of the cab. #papercraft #Tatra815 #AV15 #scalemodel #histscalemodels


Finally glued the floor to the cab. Now the cab is fully closed save for the roof shaft. I could close this as well, but i decided to keep it open until the end in case I need to fix something inside. #papercraft #Tatra815 #AV15 #scalemodel #histscalemodels


It turned out that with the back seat on, I can't insert the floor into the cab. I had to remove the seat and glue it to the interior of the cab first. Now, fitting the floor should be a lot easier. #papercraft #Tatra815 #AV15 #scalemodel #histscalemodels


Attached the seats to the floor. #papercraft #Tatra815 #AV15 #scalemodel #histscalemodels


Built the driver and passenger seats. For some weird reason I didn't take a photo from the other side 😞 #papercraft #Tatra815 #AV15 #scalemodel #histscalemodels

Built a cushion for the rear seat and a cushion and a back rests for the central front seat. #papercraft #Tatra815 #AV15 #scalemodel #histscalemodels


Finished the whole surface of the cab floor. Now I "just" need to add the seats and other details. #papercraft #Tatra815 #AV15 #scalemodel #histscalemodels


Extended the tunnel into the central part of the cab floor. #papercraft #Tatra815 #AV15 #scalemodel #histscalemodels


I didn't finish any builds in 2025 but I also didn't quit, so I guess it was an OK year after all 😅
Next up is the floor and seats. It also covers the engine, this part is a tunnel that lets air flow to the engine through the front mask. #papercraft #Tatra815 #AV15 #scalemodel #histscalemodels


Attached the dashboard to the cab and added the front mask. #papercraft #Tatra815 #AV15 #scalemodel #histscalemodels


Added a steering wheel to the mix. The wheel is made from a painted copper wire & a few paper parts. #papercraft #Tatra815 #AV15 #scalemodel #histscalemodels


Merry Christmas! (if you celebrate them)
While we're getting everything ready for the festive dinner, here's the actual dashboard with a few more controls. The red round piece is not a radar but a gyroscope for ensuring that the vehicle is in a level position. #papercraft #Tatra815 #AV15 #scalemodel #histscalemodels


Built a base for the dashboard which also serves as a frame for the front mask. A lot of 1mm cardboard was used here. #papercraft #Tatra815 #AV15 #scalemodel #histscalemodels


Added interior walls to the rest of the cab. #papercraft #Tatra815 #AV15 #scalemodel #histscalemodels


Client Info
Server: https://mastodon.social
Version: 2025.07
Repository: https://github.com/cyevgeniy/lmst