Built a loudspeaker that will be mounted on the top of the cab. #papercraft #Tatra815 #AV15 #scalemodel #histscalemodels
Papíráčky
I cut paper to pieces and paste them together.
I'm making scale models out of (mostly) paper and post (mostly) daily pics.
Joined
Aug 23, 2023


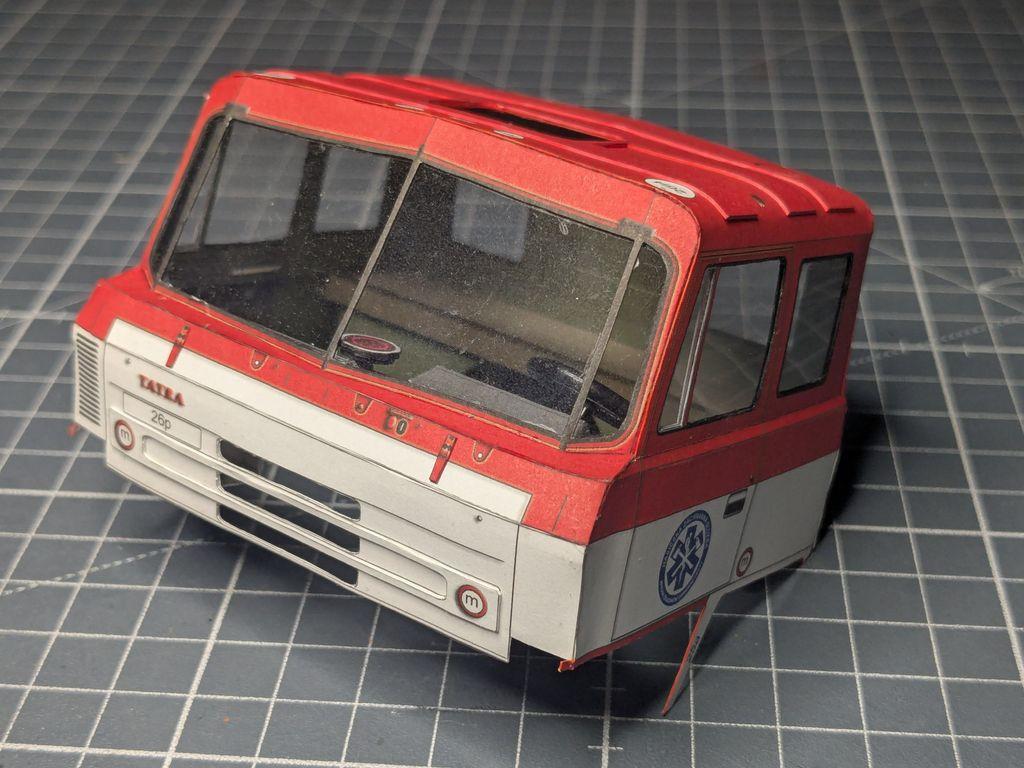
I started working on additional details for the cab exterior. Here are the sirens and blue & orange lights that will be mounted on the top of the cab. #papercraft #Tatra815 #AV15 #scalemodel #histscalemodels

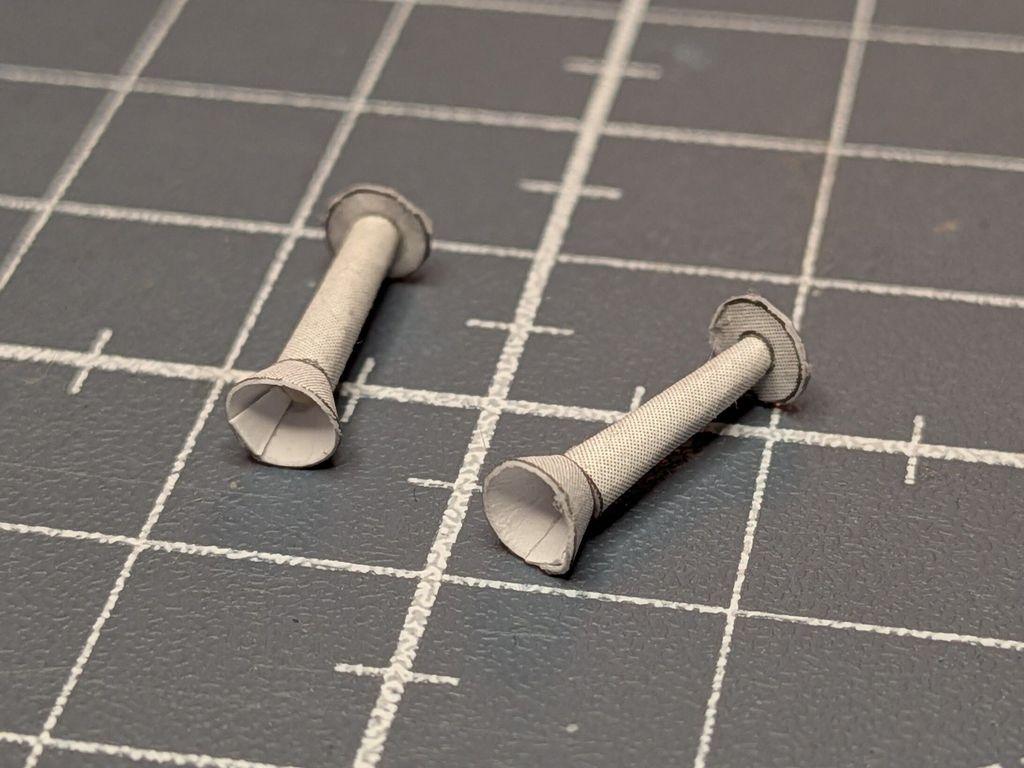

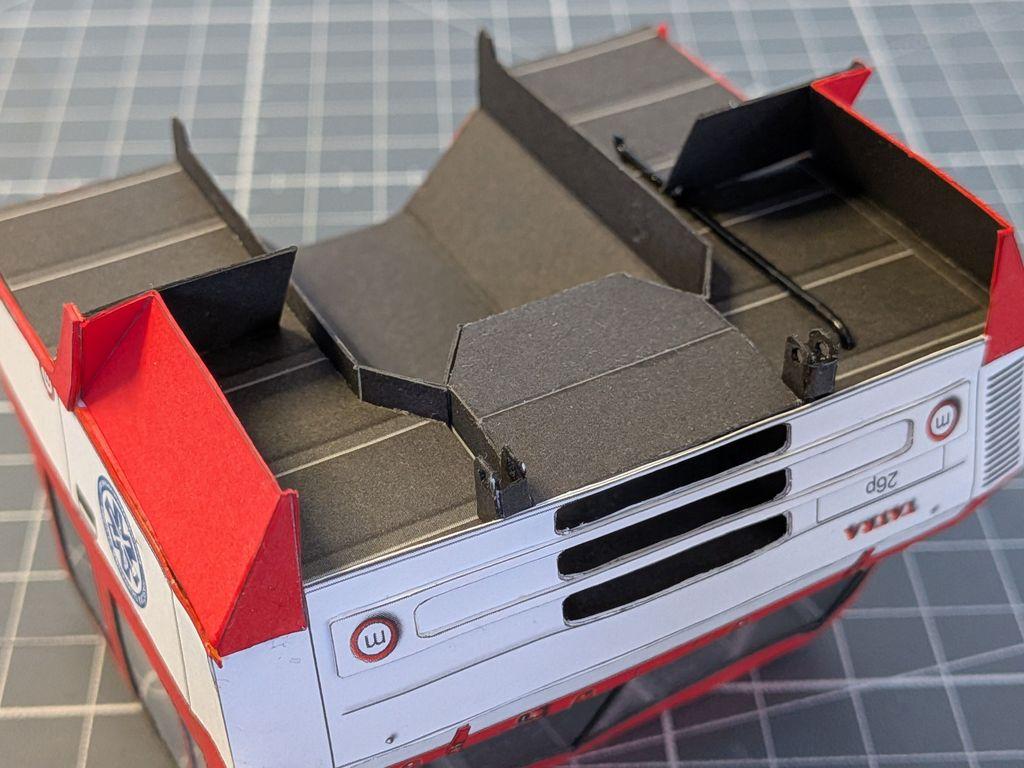
Completed the air intake heads and added them to the cab. #papercraft #Tatra815 #AV15 #scalemodel #histscalemodels


@isol thank you!☺️
1) it depends on the post and the day, but I usually do see some likes, so maybe it's just some mastodon weirdness?
2) my tools are fairly boring: a couple of art knives, a ruler, some tweezers and pliers and that's about it. I'll take a picture someday when I clean up the mess 😅
3) the squares on my mat are 1x1 cm (roughly 0.4x0.4 inch), that should give an idea of the size 📐
Next up are small details on the cab. I'm starting with the air intake heads. #papercraft #Tatra815 #AV15 #scalemodel #histscalemodels


@Printdevil I'm glad nothing burned down. Yeah, I did the same and made a small cover for the glass part.
Finally attached the cab to the chassis. The joints move freely and the cab can be lifted to open access to the engine. #papercraft #Tatra815 #AV15 #scalemodel #histscalemodels


Added left and right covers for the chassis and the bottom of the cab. #papercraft #Tatra815 #AV15 #scalemodel #histscalemodels


Bad things happen when you have a lamp with a magnifying glass and you're not careful about sunshine. Fortunately, nothing caught fire and the hole is close to the side of the mat, so I don't need to shop for a new one.


Finally glued the floor to the cab. Now the cab is fully closed save for the roof shaft. I could close this as well, but i decided to keep it open until the end in case I need to fix something inside. #papercraft #Tatra815 #AV15 #scalemodel #histscalemodels


It turned out that with the back seat on, I can't insert the floor into the cab. I had to remove the seat and glue it to the interior of the cab first. Now, fitting the floor should be a lot easier. #papercraft #Tatra815 #AV15 #scalemodel #histscalemodels


Attached the seats to the floor. #papercraft #Tatra815 #AV15 #scalemodel #histscalemodels


Built the driver and passenger seats. For some weird reason I didn't take a photo from the other side 😞 #papercraft #Tatra815 #AV15 #scalemodel #histscalemodels

Built a cushion for the rear seat and a cushion and a back rests for the central front seat. #papercraft #Tatra815 #AV15 #scalemodel #histscalemodels


The locomotive together with the trailer. Now that the model is completed, I'll be back to the Tarta build from next week on. #woodcraft #train #scalemodel #histscalemodels


I built the trailer for the locomotive. Will post a couple of pictures of the two together on Friday. #woodcraft #train #scalemodel #histscalemodels


I completed the cab and added all the remaining details to the locomotive, which is now complete. Next up will be the trailer. #woodcraft #train #scalemodel #histscalemodels


Made more progress on the locomotive: built the tank and started building the cab. So far, everything fits, no glue was required, and it's an interesting change from the detailed paper work. #woodcraft #train #scalemodel #histscalemodels


Client Info
Server: https://mastodon.social
Version: 2025.07
Repository: https://github.com/cyevgeniy/lmst